


Makeup sponges are essential tools in the beauty industry, used for the application and blending of a variety of cosmetics. They are designed to create a smooth, even finish on the skin and can be used with products such as foundation, concealer, and powder. Understanding what makeup sponges are made of is crucial for both the conscious consumer and the beauty professional seeking to tailor their kit to specific needs and preferences.
Commonly, makeup sponges are composed of soft, porous materials that are gentle on the skin. Polyurethane foam is a popular choice for makeup sponges due to its versatility and hypoallergenic properties. This synthetic material is appreciated for its ability to blend makeup smoothly without absorbing too much product.
In addition to polyurethane foam, there are makeup sponges made from hydrophilic materials, which are specifically engineered to absorb water and become softer when damp. Such materials help in achieving a dewy, well-blended makeup look. It’s important for users with sensitive skin to opt for sponges that are latex-free to avoid potential skin irritation.
Primary Materials
A prominent material is polyurethane foam, which is chosen for its softness and porosity, qualities that are gentle on the skin and highly effective for applying makeup evenly. . Polyurethane sponges are durable and can come in various shapes and densities to cater to diverse makeup needs. Another synthetic option is silicone, valued for its hygienic properties and the unique, non-porous surface that ensures minimal product waste. There are also makeup sponges made using Konjac root powder, which, when hydrated, forms a gel-like sponge ideal for sensitive skin due to its gentle nature.
Manufacturing Process
The manufacturing process of makeup sponges is meticulous, involving a series of steps to produce the final product. Each stage is critical in ensuring that the sponges meet quality and performance standards.
Creating the Foam
Initially, the raw material—typically a polyurethane foam or hydrophilic foam—is prepared. Polyurethane is favored for its softness and absorbency; properties that are beneficial for applying and blending makeup smoothly. The raw materials are mixed with reactive agents that cause them to expand and form a foam.
Shaping the Sponge
Once the foam has set, it is shaped into sponges. This can involve die-cutting, where machines stamp out the sponges from the foam using custom-made cutters. Alternatively, molds might be used to shape the foam into the desired sponge shape during the expansion process.
Curing and Cutting
The shaped sponges are then left to cure, a process that stabilizes the foam’s structure. After curing, precise cutting tools or automated machinery trim the sponges to their final size and shape. This phase is crucial to ensure uniformity and that each sponge meets the required specifications for consumer use.
Types of Makeup Sponges
Makeup sponges come in a variety of materials and shapes, each designed for specific applications and finishes. Knowing which type to use can significantly impact the end result of your makeup application.
Beauty Blenders
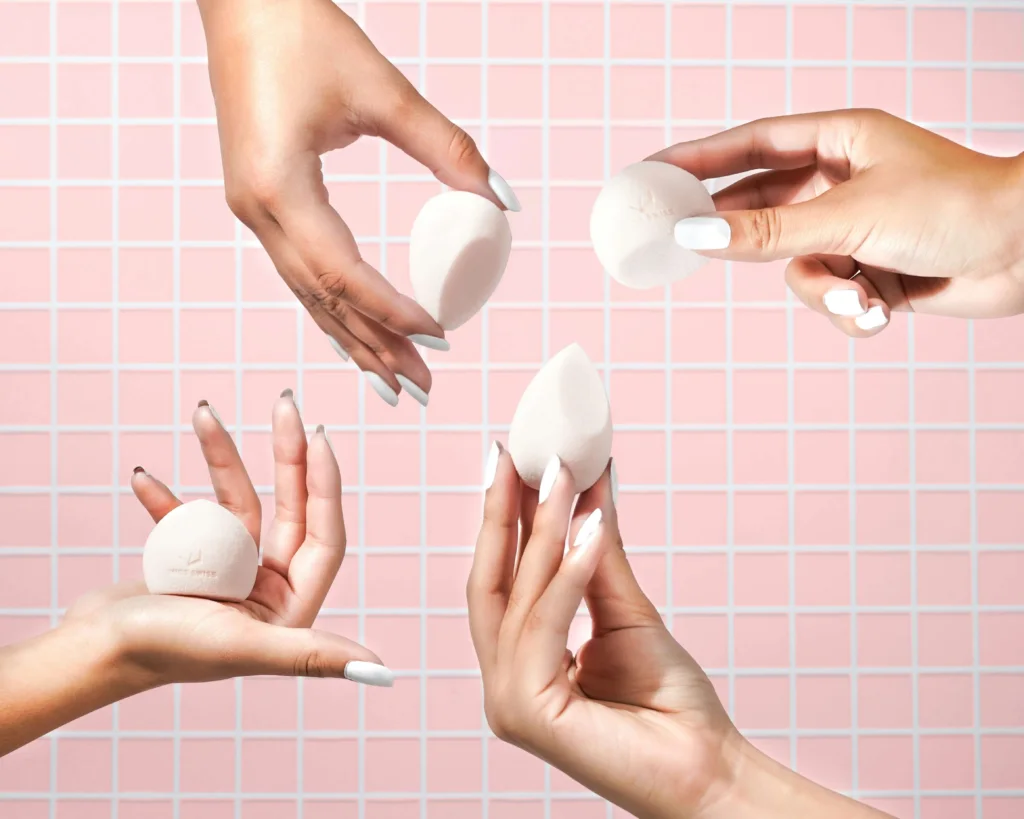
The Beauty Blender is a popular type of makeup sponge known for its egg-shaped design. It’s typically made from hydrophilic foam that becomes larger and softer when damp. This sponge is versatile—for example, its pointed end is suitable for hard-to-reach areas, while the rounder bottom can apply products over larger surfaces.
Wedge Sponges
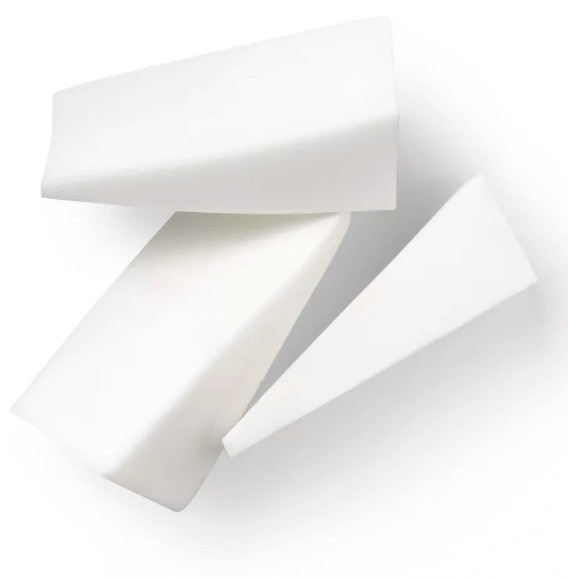
Wedge Sponges are triangular and offer a flat surface to seamlessly apply and blend makeup. They are often made from hydrophilic foam or polyurethane, their shape makes them suitable for precision work such as contouring or applying makeup to smaller areas.
Silicone Sponges
Silicone Sponges are non-porous and do not absorb product, leading to less waste. They are easy to clean and known for their durability. Silicone sponges are particularly effective for the smooth application of thicker, creamier products and provide a different finish compared to their porous counterparts.
Usage and Application
Makeup sponges, designed for various applications, are essential tools that enable precise makeup application and blending. Each type of sponge serves a unique purpose, from applying liquid foundations to blending out concealer and aiding in contouring.
Foundation Application
When using a makeup sponge for foundation, one may either use it damp to avoid excessive absorption of the product or dry for a fuller coverage. A common technique involves dotting foundation on the face and then using the larger side of the makeup sponge to stipple or bounce it onto the skin for an even finish.
Concealer Blending
For concealer application, smaller, more precise makeup sponges are often recommended. These sponges help in blending concealer under the eyes or over blemishes. The key is to use gentle dabbing motions to merge the concealer seamlessly with the skin, ensuring no harsh lines remain.
Contouring and Highlighting
The art of contouring and highlighting benefits from sponges with distinct shapes, such as those with angled or flat edges for precise application. These sponges are perfect for creating sharp cheekbones and illuminating high points of the face. Techniques include using the edge for contouring small areas and the flat side for applying highlighter in a sweeping motion.
Cleaning and Maintenance
Proper cleaning and maintenance of makeup sponges are crucial for skin health and product effectiveness. These sponges are often made of materials such as latex-free polyurethane foam to which makeup, oils, and skin debris can cling.
Weekly Cleaning Process:
- Wet the Sponge: Use lukewarm water to fully saturate the sponge.
- Apply Cleanser: A gentle soap or cleanser designed for makeup sponges is ideal. Squeeze to distribute the cleanser evenly.
- Lather and Rinse: Massage the sponge gently to create lather and rinse until the water runs clear.
- Dry Properly: Make sure to air dry the sponge in an open space to prevent mold growth.
Sponge Cleaning Tips:
- Avoid using harsh chemicals that may break down the sponge structure.
- Never wring out the sponge, as it can cause tears. Instead, press it between towels to remove excess moisture.
- Replace makeup sponges regularly, about every three months, to avoid bacterial growth and maintain makeup application quality.
By adhering to these steps, users can extend the lifespan of their makeup sponges and ensure a clean and hygienic makeup application process.
Alternatives to Makeup Sponges
For individuals looking for different tools to apply makeup, several options exist beyond the typical makeup sponge.
Brushes: Makeup brushes come in various shapes and sizes for a precise application. They can be used for:
- Liquid foundation
- Powder products
- Blush and highlighter
Fingers: Using fingers for makeup application is a traditional method. It allows for:
- Natural warmth to blend makeup smoothly
- Personal control over the pressure applied
Each tool can offer a unique application experience and finish, with brushes providing precision, fingers offering warmth and ease, silicone blenders being economical on product use, cotton pads for gentle removal, and microfiber sponges as a middle-ground option between traditional sponges and brushes.
More To Read:
- How to Improve Makeup Brush Powder Pickup Efficiency
- Why Makeup Brush Brands Are Overpriced? Rethinking Their Supply Chain
- Triple-Tip Fiber Bristle: The Next Generation High Powder Pickup Bristles for Superior Makeup Performance
- Makeup Brush Drying Time: Why It Matters for Hygiene, Efficiency, and Brush Performance
- Why Makeup Brush Material Innovation Matters for OEM Brands